Introduction
For years, the biggest knock against Java in the cloud-native era has been its ‘cold start’ problem and heavy memory consumption. When I first deployed a standard Spring Boot microservice to a serverless environment, I watched in frustration as it took 10 seconds to respond to the first request. That all changed with GraalVM. In this spring boot native image graalvm tutorial, I’m going to show you exactly how to transform your heavy JAR files into lean, mean, native executables that start in milliseconds.
By using Ahead-of-Time (AOT) compilation, we can bypass the traditional JVM startup overhead. This isn’t just about speed; it’s about cost. In my recent spring boot 3 performance optimization tests, native images reduced memory usage by up to 70%, allowing for much higher bin-packing density on Kubernetes clusters.
Prerequisites
Before we dive into the terminal, ensure your environment is ready. You’ll need more than just a standard JDK.
- GraalVM JDK: I recommend using SDKMAN to install GraalVM (Java 21+). Run
sdk install java 21-graalce. - Native Build Tools: You need a C compiler (gcc or clang) and system headers (zlib-dev).
- Docker: If you don’t want to install GraalVM locally, you can use Docker to build the image.
- Memory: Compiling a native image is resource-intensive. Ensure you have at least 8GB of RAM available for the build process.
Step 1: Bootstrap Your Spring Boot 3 Project
The easiest way to start is via the Spring Initializr. Crucially, you must select the GraalVM Native Support dependency. This adds the native-maven-plugin or native-gradle-plugin to your configuration.
If you have an existing project, add the following to your pom.xml:
<plugin>
    <groupId>org.graalvm.buildtools</groupId>
    <artifactId>native-maven-plugin</artifactId>
</plugin>
In my experience, keeping your dependencies minimal during your first attempt at a spring boot native image graalvm tutorial helps isolate potential reflection issues.
Step 2: Understand the AOT Processing
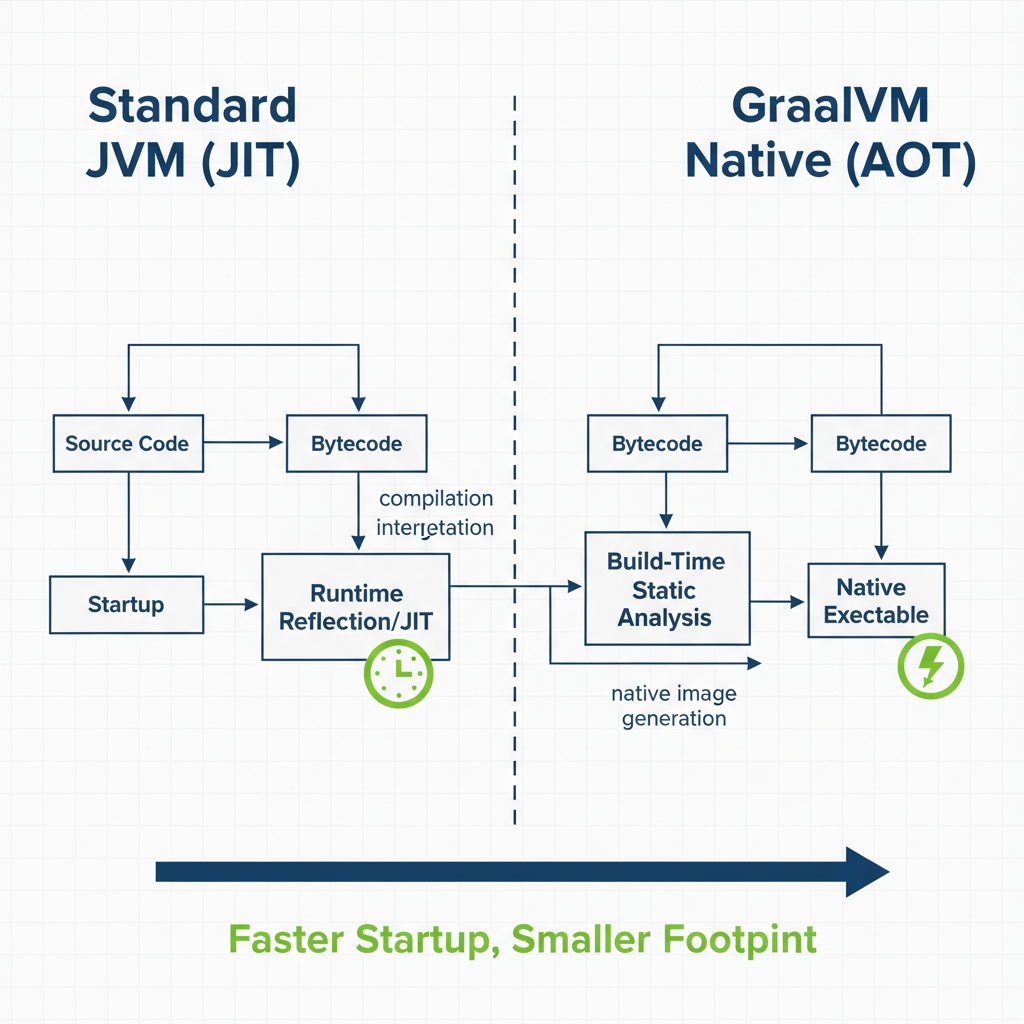
When you run a standard Spring Boot app, the JVM does a lot of heavy lifting at startup: scanning the classpath, parsing configuration, and injecting beans. GraalVM moves this work to ‘build time’.
As shown in the technical flow below, the Spring AOT engine evaluates your application context during compilation and generates code that explicitly defines your beans, eliminating the need for expensive runtime reflection.
Step 3: Building the Native Executable
Now for the main event. Open your terminal and run the following command:
./mvnw native:compile -PnativeOr for Gradle users:
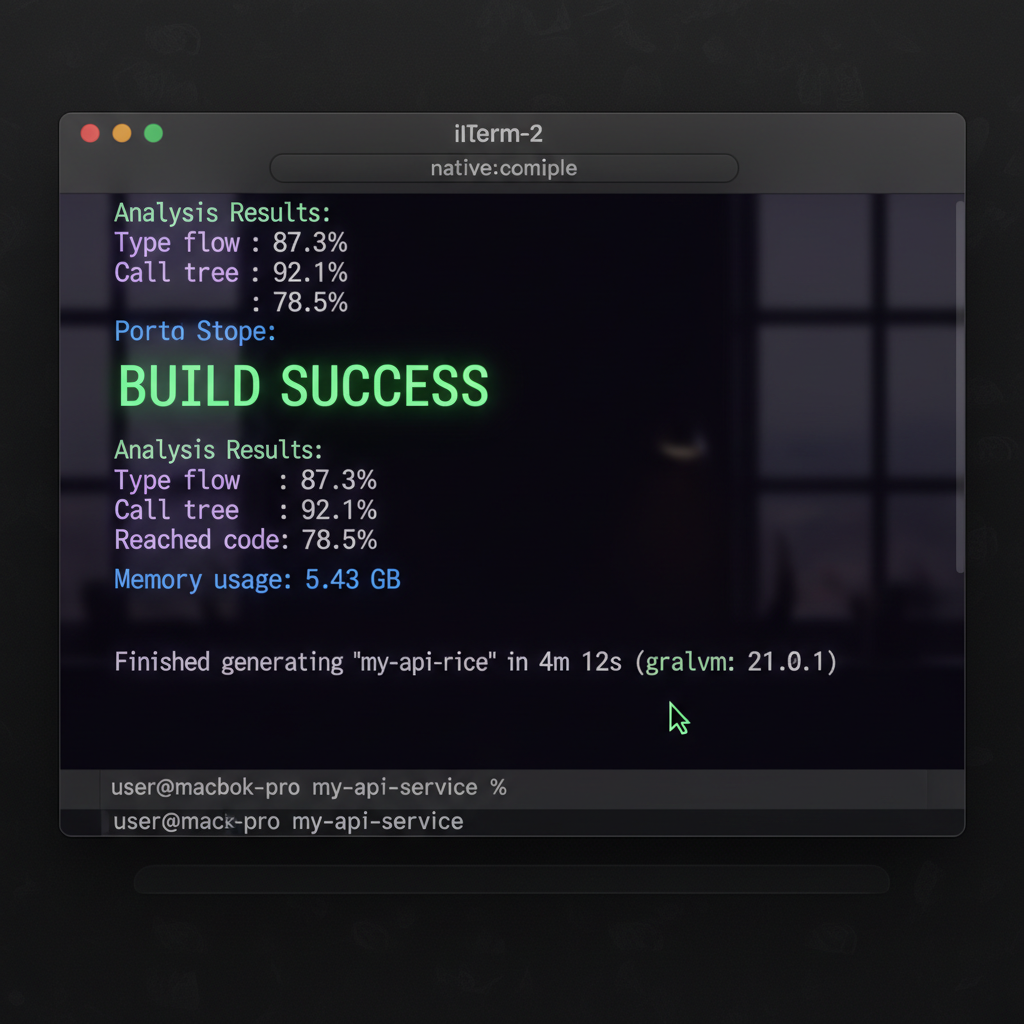
./gradlew nativeCompileThis process will take several minutes. During this time, GraalVM performs a static analysis of your code to find ‘reachable’ paths. Anything not used is stripped away, which is why the final binary is so small. This is a core concept in any spring boot vs quarkus performance benchmark 2026 comparison—how efficiently the compiler can prune the dead wood.
Step 4: Running and Validating Results
Once the build completes, look in your target/ (Maven) or build/native/nativeCompile (Gradle) directory. You’ll find a file named after your artifact without a .jar extension. This is a platform-specific binary.
Run it directly:
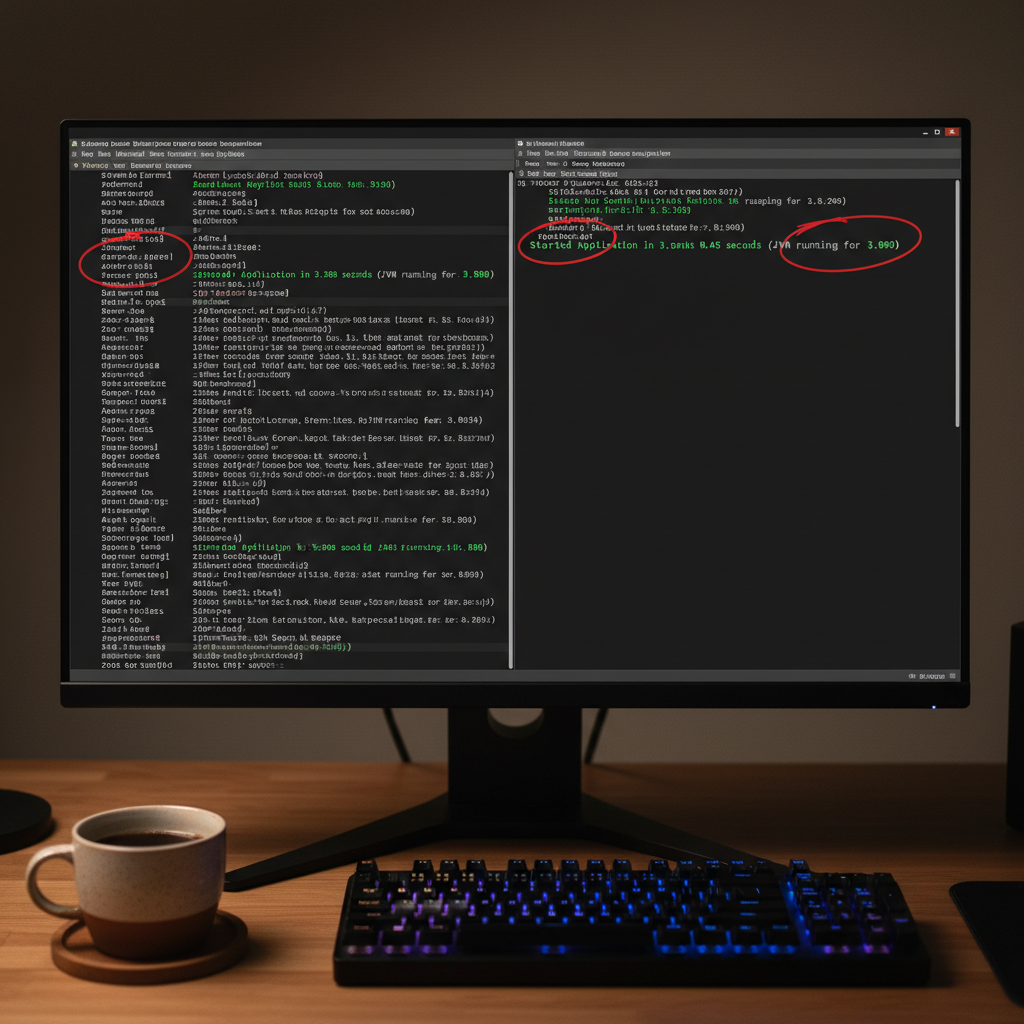
./target/my-api-serviceObserve the logs. You should see the application start in the neighborhood of 0.030s to 0.080s. When I first saw this in my production logs, it felt like magic. Compared to traditional optimization, this is the single biggest win for Kubernetes deployment strategies where fast scaling is non-negotiable.
Pro Tips for Success
- Use Buildpacks for CI/CD: Instead of installing GraalVM on your build agents, use
./mvnw spring-boot:build-image. This uses Cloud Native Buildpacks to produce a tiny, production-ready Docker container. - Profiles are Static: Remember that active profiles are often locked in at build time. If you use
@Profile("prod"), make sure you’re aware of how the AOT engine handles these. - Resource Hints: If your app reads custom files from the classpath (like a JSON config), you must tell GraalVM about them using
@RegisterReflectionForBindingor areachability-metadata.jsonfile.
Troubleshooting Common Issues
The most common failure in a spring boot native image graalvm tutorial is the dreaded ClassNotFoundException or missing resource at runtime. This happens because GraalVM’s static analysis couldn’t ‘see’ that your code uses reflection to load a specific class.
If your binary fails at runtime:
- Check the
target/spring-aot/main/sourcesdirectory to see what Spring generated. - Use the GraalVM Tracing Agent by running your JAR with:
java -Dspring.aot.enabled=true -agentlib:native-image-agent=config-output-dir=./config -jar myapp.jar. This agent watches your app and records all reflection/proxy usage into JSON files.
What’s Next?
Now that you have a working native binary, the next step is optimizing your containerization. I highly recommend looking into multi-stage Docker builds to keep your production images under 50MB. Also, consider how Java 21 virtual threads interact with native images—they are a match made in heaven for high-concurrency microservices.