
Introduction: Why You Need This Spring Boot Testing with Testcontainers Tutorial
For years, the standard for integration testing in the Java ecosystem was to use an in-memory database like H2. It was fast, easy to set up, and required zero external dependencies. However, I’ve lost count of how many times my tests passed locally with H2, only to fail in production because of subtle SQL syntax differences or missing PostgreSQL-specific features like JSONB or GIN indexes. In this spring boot testing with testcontainers tutorial, I’m going to show you how to move past these limitations by using real Docker containers for your tests.
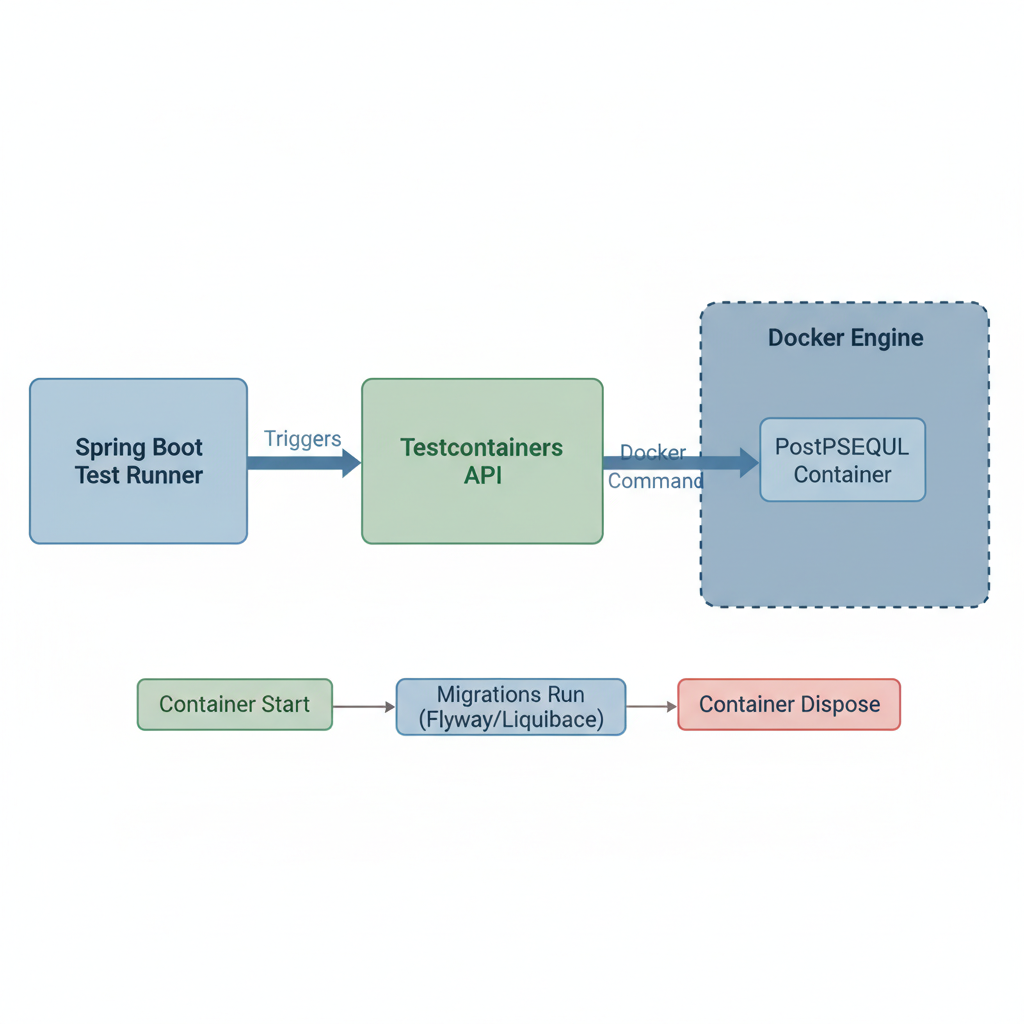
In my experience, ensuring environment parity is the most effective way to catch bugs early. If your production environment uses a specific version of PostgreSQL or Redis, your tests should too. Testcontainers makes this effortless by managing the lifecycle of Docker containers directly from your JUnit tests. This aligns perfectly with a solid spring boot dockerization guide strategy, where containerization isn’t just for deployment, but an integral part of the development lifecycle.
Prerequisites
Before we dive into the code, ensure you have the following installed on your machine:
- Java 17 or higher: (Spring Boot 3.x requires it).
- Docker: A running Docker daemon (Docker Desktop, Colima, or Rancher Desktop).
- Your favorite IDE: I’ll be using IntelliJ IDEA, but VS Code or Eclipse work fine.
- Maven or Gradle: For dependency management.
Step 1: Adding the Necessary Dependencies
The first step in our spring boot testing with testcontainers tutorial is to update your pom.xml or build.gradle. Since Spring Boot 3.1, integration has become significantly easier with the introduction of the Testcontainers BOM (Bill of Materials).
<dependency>
    <groupId>org.springframework.boot</groupId>
    <artifactId>spring-boot-testcontainers</artifactId>
    <scope>test</scope>
</dependency>
<dependency>
    <groupId>org.testcontainers</groupId>
    <artifactId>postgresql</artifactId>
    <scope>test</scope>
</dependency>
By using the official Spring Boot starter for Testcontainers, we gain access to convenient annotations that handle the plumbing of connecting our application to the containerized database.
Step 2: Configuring the Test Container
Historically, we had to use @DynamicPropertySource to map the container’s random port to Spring’s spring.datasource.url. However, in this modern spring boot testing with testcontainers tutorial approach, we will use the @ServiceConnection annotation. This feature automatically configures the connection details for us.
@TestConfiguration(proxyBeanMethods = false)
public class TestcontainersConfiguration {
@Bean
@ServiceConnection
public PostgreSQLContainer<?> postgresContainer() {
return new PostgreSQLContainer<>("postgres:16-alpine");
}
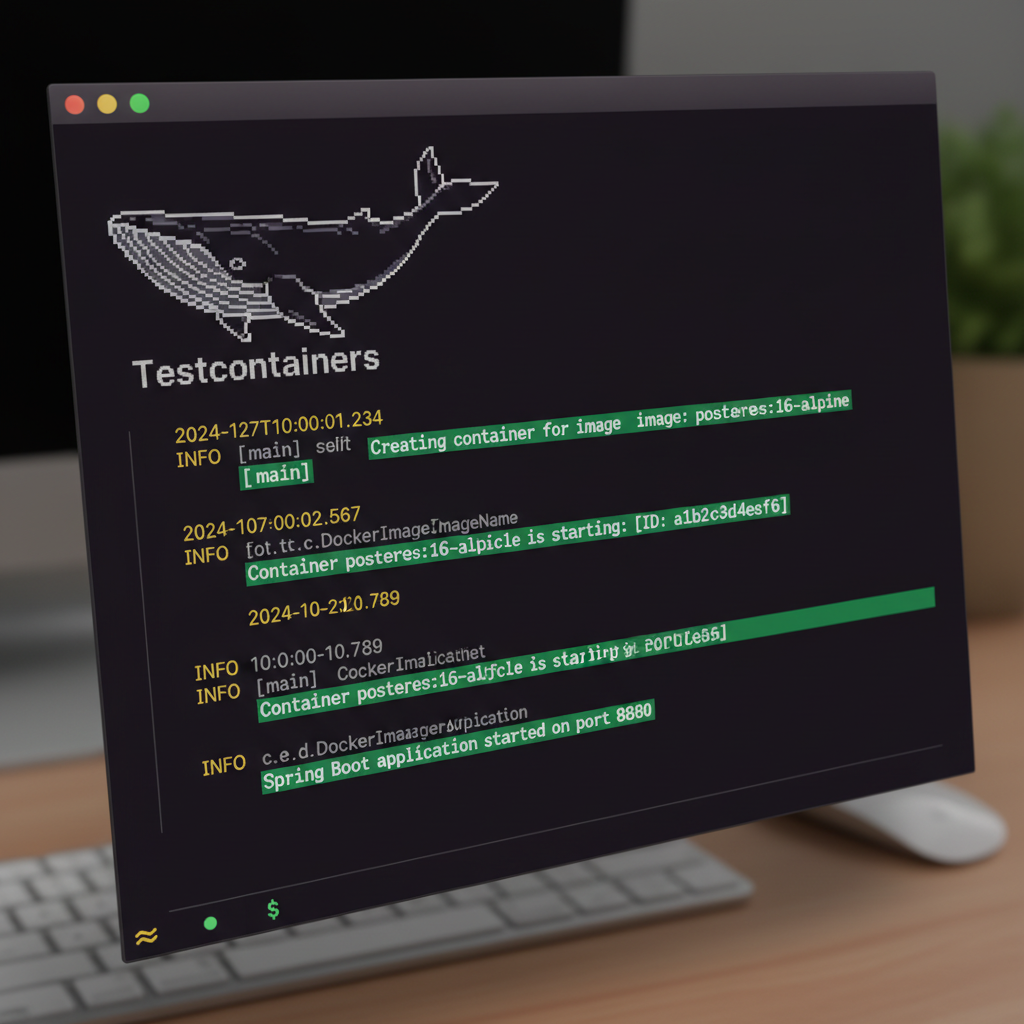
}This configuration ensures that whenever our tests run, a fresh PostgreSQL 16 container is spun up, and Spring Boot is told exactly how to talk to it. If you run into issues with the container not starting, I recommend checking your spring boot logging best practices to enable DEBUG level logs for the org.testcontainers package.
Step 3: Writing the Integration Test
Now, let’s see it in action. We’ll write a repository test that saves a user and retrieves them. Unlike unit tests, this integration test will interact with a real, live database inside a Docker container.
@SpringBootTest
@Import(TestcontainersConfiguration.class)
class UserRepositoryTest {

    @Autowired
    private UserRepository userRepository;

    @Test
    void shouldSaveAndRetrieveUser() {
        User user = new User(null, "ajmani_dev", "contact@ajmani.dev");
        userRepository.save(user);

        Optional<User> found = userRepository.findByUsername("ajmani_dev");
        assertThat(found).isPresent();
        assertThat(found.get().getEmail()).isEqualTo("contact@ajmani.dev");
    }
}
When you run this test, you’ll notice in your Docker dashboard that a container starts up, the test runs, and then the container is automatically destroyed. This ephemeral nature is why I emphasize following a spring boot dockerization guide for your entire team—it keeps local environments clean.
Pro Tips for Spring Boot Testing with Testcontainers
Once you get the basics down, you might notice that starting a container for every test class is slow. Here are some advanced tips to optimize your spring boot testing with testcontainers tutorial implementation:
- The Singleton Container Pattern: Create a base class that holds a static container instance. This way, the container starts once for the entire test suite and is reused across all classes.
- Reusable Mode: Testcontainers has a “reuse” feature (currently in alpha/beta) that allows containers to persist between test runs to save time during local development.
- Wait Strategies: Sometimes a database reports as “started” before it’s actually ready to accept connections. Use
.waitingFor(Wait.forListeningPort())to ensure stability.
For better visibility into what’s happening during these startup phases, revisit your spring boot logging best practices to ensure you aren’t swallowing important container errors.
Troubleshooting Common Issues
Even with a perfect spring boot testing with testcontainers tutorial, you might hit some snags. Here are the most common issues I encounter:
- Docker Socket Permissions: If you see “Could not find a valid Docker environment,” ensure your user has permissions to access
/var/run/docker.sock. - Ryuk Failures: Ryuk is the sidecar container that cleans up after tests. If it fails, you might have orphaned containers. Check your firewall settings.
- Slow CI/CD: Running Docker-in-Docker (DinD) in GitHub Actions or GitLab CI can be slow. Ensure you are using high-performance runners or caching Docker layers where possible, as discussed in our spring boot dockerization guide.
What’s Next?
Now that you’ve mastered the basics of this spring boot testing with testcontainers tutorial, consider expanding your test suite to include other technologies. You can use Testcontainers for Redis, Kafka, Elasticsearch, or even LocalStack for AWS services. The principle remains the same: use real infrastructure to gain real confidence.
If you’re looking to dive deeper into container optimization, check out our guide on spring boot dockerization to see how to minify your production images once your tests have passed.