
Introduction to OAuth2 Resource Servers
In the modern microservices landscape, securing individual services is no longer about managing usernames and passwords. It is about verifying trust. If you are building a backend today, this spring boot security oauth2 resource server guide will help you transition from legacy authentication to a robust, token-based architecture. In my experience, the biggest hurdle for developers isn’t the code itself, but understanding how the Resource Server interacts with the Authorization Server (like Keycloak or Auth0) without becoming a bottleneck.
Fundamentals of OAuth2 Resource Servers
A Resource Server is the component that hosts the protected data. It doesn’t log the user in; instead, it accepts a ‘Bearer’ token, validates it, and grants access based on the scopes or roles within that token. When I first set this up, I realized the Resource Server is essentially a ‘bouncer’ that checks the ID but doesn’t issue it.
- JWT (JSON Web Token): The most common format, containing claims that the server can decode locally.
- Opaque Tokens: Tokens that require the Resource Server to call the Authorization Server (introspection) to verify.
- JWK Set (JSON Web Key Set): A set of public keys used by our Spring Boot app to verify the signature of a JWT.
Deep Dive: JWT Validation and Decoding
When a request hits your API, Spring Security intercepts it. If you’ve configured it correctly, the framework looks for the issuer-uri. It automatically fetches the public keys from the provider. This is where spring boot security best practices come into play—always ensure your issuer uses HTTPS to prevent man-in-the-middle attacks during the key exchange.
The Resource Server doesn’t just check if the token is valid; it checks if it has expired (exp claim) and if it was intended for this specific audience (aud claim). In my setup, I often customize the JwtAuthenticationConverter to map these claims into something Spring can understand, like GrantedAuthority.
Deep Dive: Method-Level Security
Once the token is validated, you need to enforce authorization. Simply having a valid token isn’t enough; the user needs the right permissions. I prefer using @PreAuthorize annotations on my controller methods. For instance, you might use a spring boot custom annotation example to wrap complex logic into a simple @IsAdmin or @CanReadOrders annotation, making your code significantly cleaner.
Implementation: Step-by-Step Configuration
To get started, you’ll need the spring-boot-starter-oauth2-resource-server dependency. Here is how I configure the security filter chain in Spring Boot 3.x:
@Configuration
@EnableWebSecurity
public class SecurityConfig {

    @Bean
    public SecurityFilterChain filterChain(HttpSecurity http) throws Exception {
        http
            .authorizeHttpRequests(authorize -> authorize
                .requestMatchers("/api/public/**").permitAll()
                .anyRequest().authenticated()
            )
            .oauth2ResourceServer(oauth2 -> oauth2
                .jwt(Customizer.withDefaults())
            );
        return http.build();
    }
}
In your application.yml, you only need one vital property to make this work:
spring:
  security:
    oauth2:
      resourceserver:
        jwt:
          issuer-uri: https://your-auth-provider.com/realms/myrealm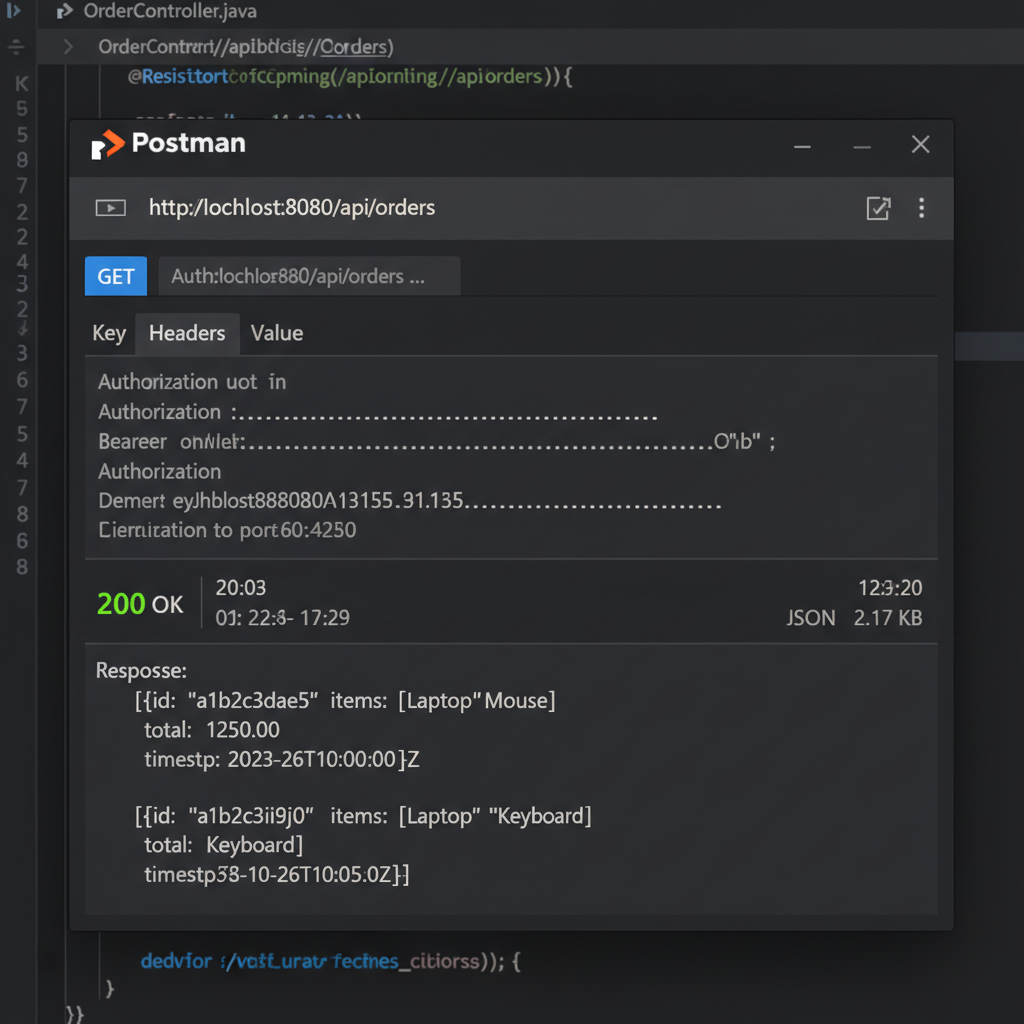
Principles of a Secure OAuth2 Resource Server
Building a resource server isn’t just about making the code work; it’s about following security principles. In my experience, these three are non-negotiable:
- Statelessness: The Resource Server should not maintain a session. Every request must carry its own credentials. This allows for seamless scaling across multiple pods in a Kubernetes cluster.
- Principle of Least Privilege: Don’t just check for a valid token. Check for specific scopes. If an app only needs to read data, don’t grant it ‘write’ permissions.
- Claim Mapping: Don’t leak internal role structures to the outside world. Map the provider’s claims to your internal authority set.
For more on infrastructure-level security, check out our guide on microservices security patterns and how to handle configuring CORS in Spring Boot when dealing with frontend clients.
Tools for Testing and Development
Testing an OAuth2 setup can be frustrating. I rely heavily on Postman for manual testing. By using the ‘Auth’ tab in Postman, you can automate the retrieval of tokens from your provider and inject them into your API calls. For automated testing, I recommend using @AutoConfigureMockMvc along with SecurityMockMvcRequestPostProcessors.jwt(). This allows you to mock a JWT without actually hitting an identity provider, which is essential for fast CI/CD pipelines. Refer to our article on testing spring boot applications for more advanced mocking techniques.
Case Study: Securing a Multi-Tenant API
I recently worked on a project where we had to support multiple identity providers (Google for users and an internal Keycloak for service-to-service). The Spring Boot Security OAuth2 Resource Server handled this beautifully. By configuring a AuthenticationManagerResolver, we could inspect the iss claim of the incoming token and route it to the correct provider’s public keys. This level of flexibility is why Spring Security remains the industry standard.